
Overview
Documents Profiles in Perspio allow administrators to standardise and manage document-related resources such as files, images, and external links across assets of the same type.
By using a Documents Profile, you ensure that consistent documentation is available for all similar assets without needing to upload files individually per asset.
Once configured and applied, these files are available directly within the Asset Snapshot, accessible from the right-side menu, making it easy for users to view relevant documents in context.
Profiles are created and managed from the Admin Area and follow a consistent configuration structure across the platform.
Before you start Before creating a Documents Profile, confirm that:- You have access to the Admin module
- You have permission to manage Profiles
- The files and images you want to upload are available on your device
- Any external links are ready to be added
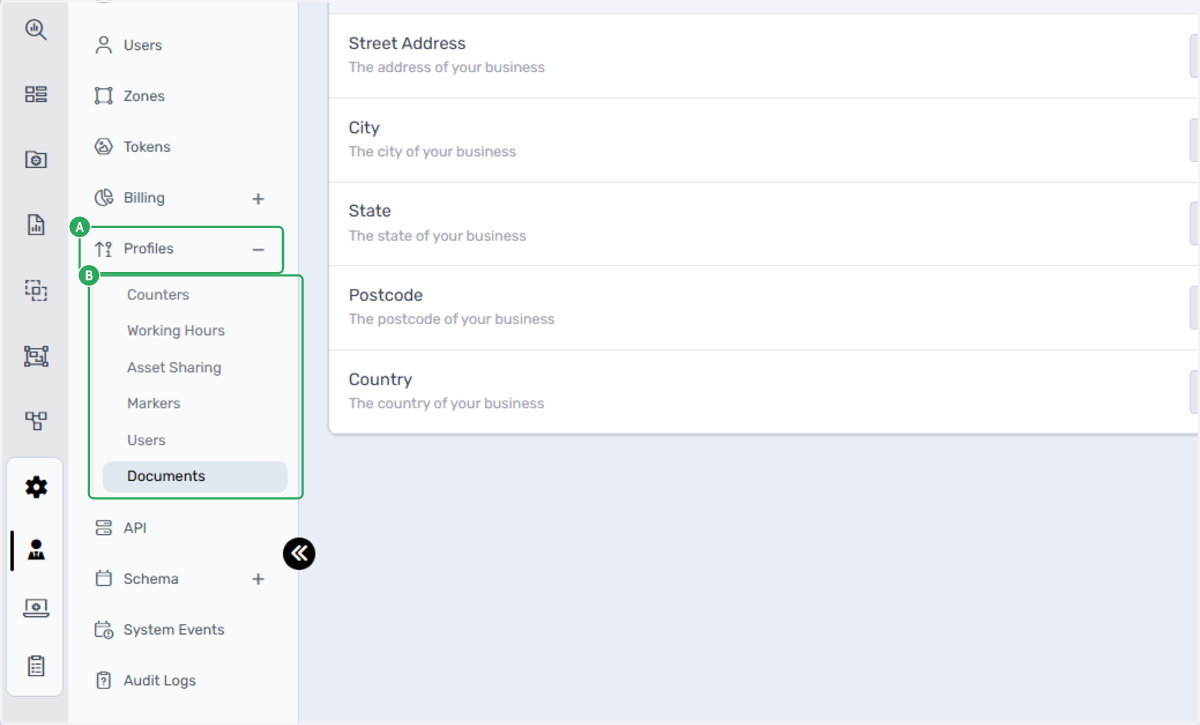
Where to find Documents Profiles Documents Profiles are managed from the Admin module. Navigation path:
- Open Admin
- Select Profiles
- Click Documents
Create a Documents Profile
Step 1: Open Admin
From the main navigation, click Admin. What this does
Opens the administration area where system configuration and profile management are available.

Step 2: Open Profiles and select Documents
Within Admin:- Click Profiles
- Select Documents
What this does
Opens the Documents Profiles list, which displays all existing document profiles and available actions.
Step 3: Click Add Profile
Click Add Profile. What this doesStarts the profile creation process by opening a new profile record.

Step 4: Click Create
Click Create to finalise the profile creation. What this does
Creates the Documents Profile and saves it to the system.

Step 5: Open the profile
Click Go to document profile. What this does
Opens the profile detail page where you can add and manage files, images, and links.

Add files to the Documents Profile
Step 6: Open the Files tab
Click Files. What this does
Displays the file attachment section for the profile.

Step 7: Click Add File
Click Add File. What this does
Opens the file upload window to attach documents.

Step 8: Upload the file
Click Browse files and select a file from your device. What this doesOpens the file picker, allowing you to select and upload one or more files. Screen controls
- Browse files: opens your device file selector
- Drag-and-drop area: allows direct file upload (if supported)

Add images to the Documents Profile
Step 9: Open the Images tab
Click Images. What this does
Displays the image management section for the profile.

Step 10: Click Add Image
Click Add Image. What this does
Opens the upload interface for adding images to the profile.

Step 11: Use the upload window
Use the Uppy Dashboard to select and upload an image. What this doesDisplays an upload modal where images can be selected and uploaded. Screen controls
- Uppy Dashboard: upload interface
- Press Escape to close the window

Add links to the Documents Profile
Step 12: Open the Links tab
Click Links. What this does
Opens the link management section for the profile.

Step 13: Click Add Link
Click Add Link. What this does
Opens the link creation form.

Step 14: Save the link
Enter the required link details and click Add Link again. What this does
Saves the link to the Documents Profile.

How this appears on Assets After the Documents Profile is configured and applied:
- Files, images, and links are available on the Asset Snapshot
- Content is displayed in the right-side menu of the asset view
- All assets using the same profile will show the same standardised content
What to check after setup After completing the process, confirm that:
- the profile opens correctly
- files appear under the Files tab
- images appear under the Images tab
- links appear under the Links tab
- assets using this profile display content in the Asset Snapshot right-side menu
Troubleshooting Add Profile button not visible
- Confirm you are in Admin > Profiles > Documents.
- Check your permissions.
- Reopen the upload window and try again.
- Confirm the file exists on your device.
- Check file size or format if restricted.
- Ensure all required fields are completed.
- Click Add Link to confirm the action.