Use this menu to create a group of assets within Perspio. By creating asset groups, you streamline the administration of related items, facilitating efficient monitoring, and targeted actions.
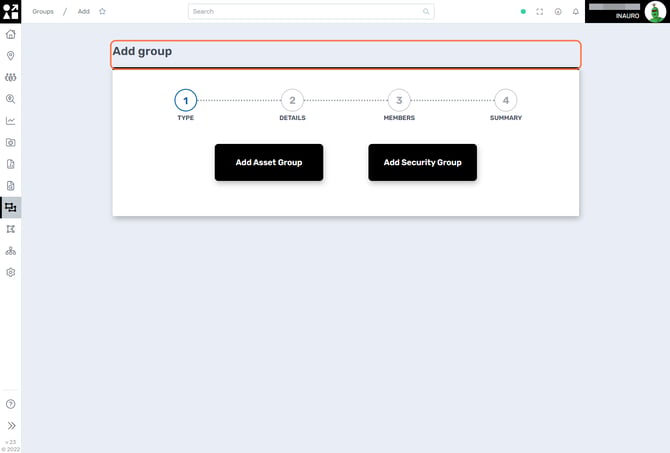
1. Group Type
First you need to select if the created group is:
-
A Asset Group: a group of assets you will be using to interact with through reports, dashboards and workflows;
-
A Security Group: a group of assets you will use to provide restricted access to the platform to a user (internal or external customer).
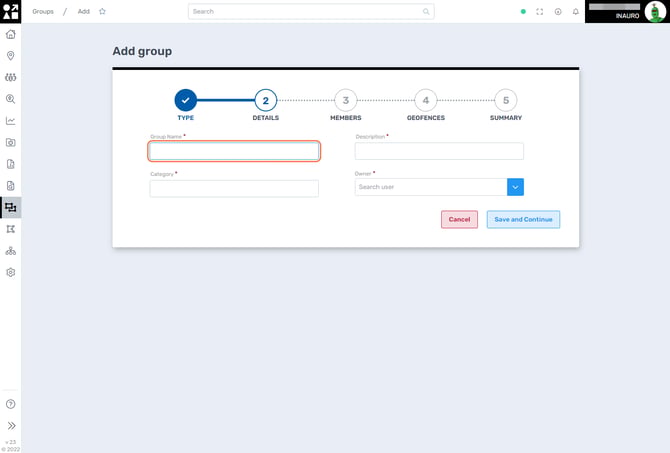
2. Group Details
On this screen, please take a moment to meticulously input the required information with precision and completeness. Accurate and thorough data entry ensures the reliability and effectiveness of the system, contributing to a seamless and error-free user experience.
3. Select Group Members
Choose whether the group will dynamically determine its members based on predefined rules or if members will be manually added to the group.
In the Manual Group, proceed to include assets relevant to the group. If it's a Dynamic Group, designate the rules that Perspio will apply to automatically include assets within the group. This dual approach provides flexibility, allowing you to tailor the group's composition to your specific needs, whether through manual selection or automated criteria defined by rules.

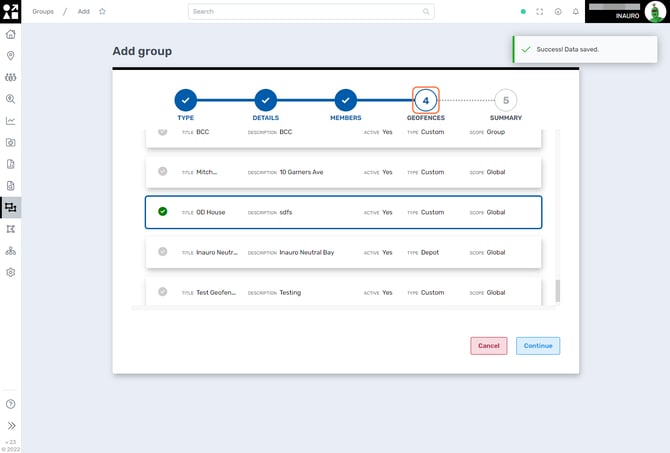
4. Select Geofences (if required)
Utilize this menu to assign one or more geofences to a group. Enhance your group management capabilities by incorporating geofences, providing a spatial context to the assets within the group.
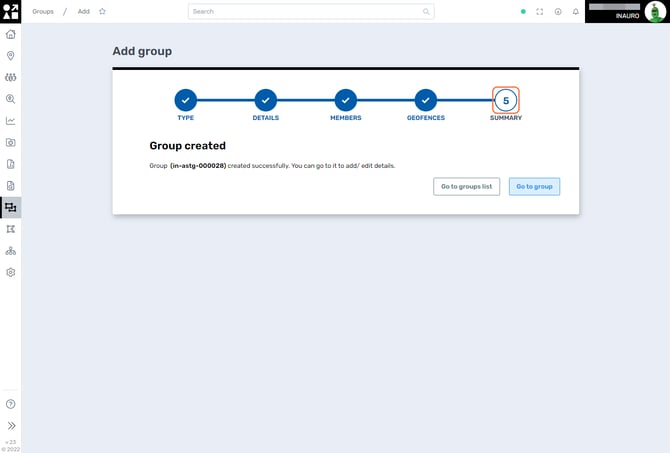
5. Summary
Upon successfully completing all the steps, you will arrive at this screen, confirming the successful creation of your group. Once finished, you have the option to return to the Main Groups List page or proceed directly to the specific group by selecting Go To Group.